If you spend any time in a garage, whether for professional mechanic work or as a DIY enthusiast, you know the heart of the space is the workbench. A well-designed garage workbench not only makes projects easier but also increases productivity and enhances safety. Whether you’re looking for inspiration on Pinterest or planning to build one from scratch, there are countless ideas to explore that will transform your garage into a highly functional workspace.
The garage workbench is more than just a table; it’s the hub of creativity and repair in any garage. It’s where you’ll hammer, saw, screw, and solder, so its design and functionality are paramount. With the rise of platforms like Pinterest, finding visually inspiring and practical garage workbench ideas has never been easier. These platforms offer a treasure trove of images and links to projects that other crafters and mechanics have tried and tested, making it easier to envision what will work in your own space.
Dive Into Garage Workbench Ideas from Pinterest
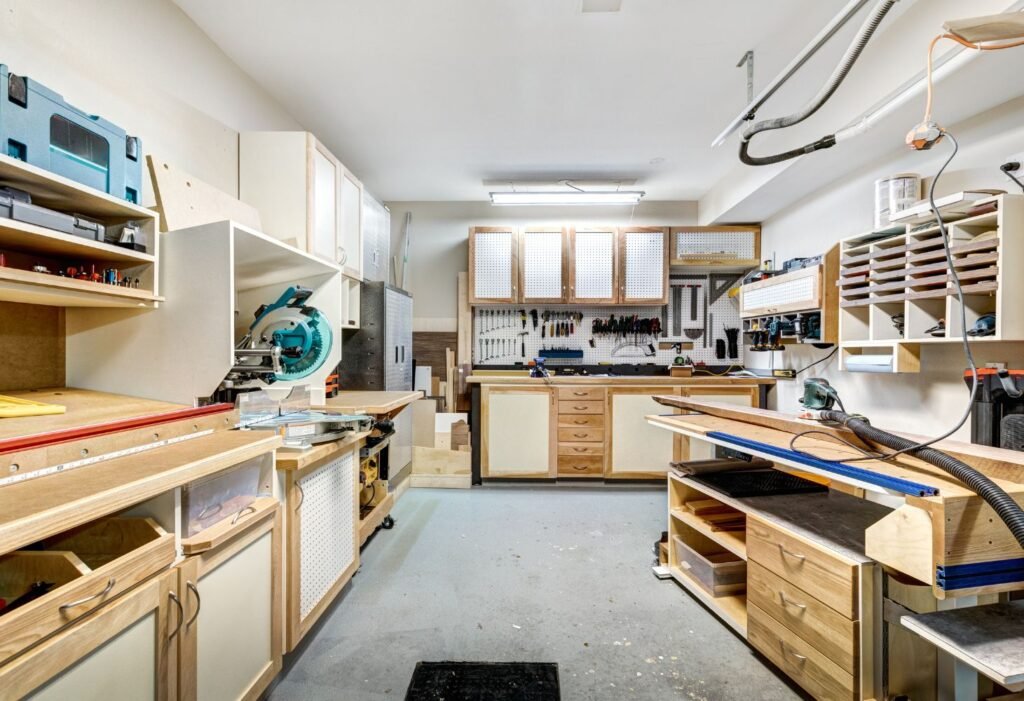
Pinterest is a fantastic starting point for anyone looking to upgrade or create a new garage workbench. By searching through popular boards dedicated to garage improvements and workbench setups, you can find a myriad of designs ranging from the ultra-sophisticated, with built-in tool organizers, to the simple and minimalist. You can pin your favorite ideas to your board, making it easy to return to your inspirations when you’re ready to start building. Links provided with these pins often lead to blogs where DIYers detail their building processes, offer tips, and sometimes provide free plans to help you get started.
Crafting the Perfect Mechanic Workbench
For those of us who tinker with cars, motorcycles, or other machinery, the mechanic workbench needs to be particularly robust and well-organized. Essential features might include a heavy-duty surface that can withstand significant weight and resist oil stains, integrated tool storage for quick access, and adequate lighting options. A pegboard backing or magnetic tool holders can enhance efficiency, ensuring tools are within reach but out of the way. Adding drawers or shelves beneath the bench helps maximize storage space, allowing for a clean and organized work area that frees up the benchtop for actual work.
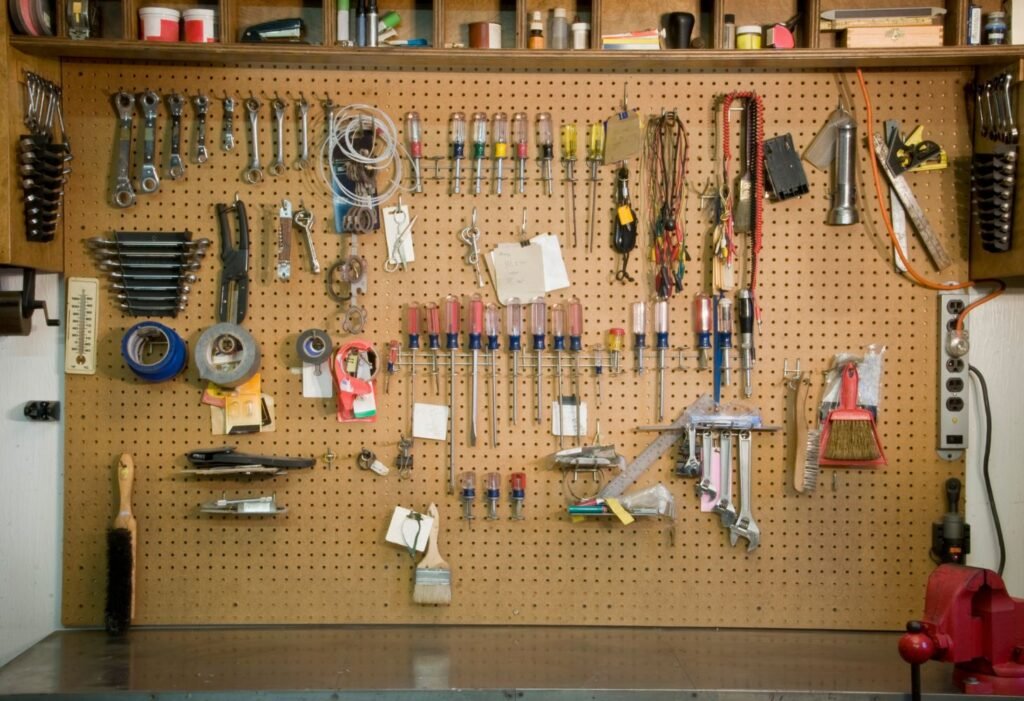
DIY Workbench Ideas That You Can Build
Building your own workbench might seem daunting, but it’s a project that can be tailored to fit your specific needs and space. The first step is to determine what those needs are. Do you need mobility? Consider adding wheels. Require a lot of tool storage? Plan for drawers or hooks. After you’ve mapped out your requirements, gather your materials. You’ll typically need:
- Wood: Plywood or hardwood for durability.
- Screws and Bolts: To assemble the frame and attach pieces.
- Power Tools: Drill, saw, sander, and possibly a router.
- Finishing Supplies: Sandpaper, paint, or sealant to finish the bench.
There are plenty of free plans available online that can serve as a blueprint. These plans often come with detailed step-by-step instructions, a list of materials and tools, and even videos to guide you through the process. By building your own workbench, you not only get a custom solution that perfectly fits your space and needs but also the satisfaction of having built an integral part of your workshop yourself.
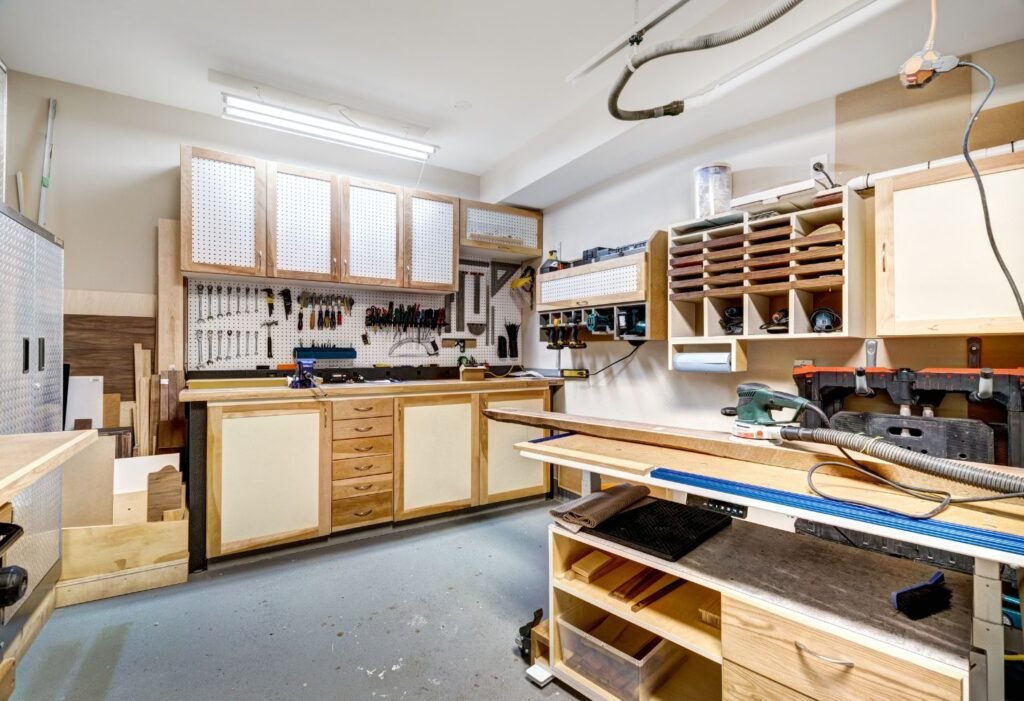
Bringing Your Workbench to Life
Once you have your plans and materials, the building process can begin. Start by cutting your wood to size according to the plans, then assemble the frame. Ensure all joints are secure and the frame is squared correctly so everything lines up when you add the benchtop and shelves. After assembly, sand down any rough edges and apply your chosen finish. This might be paint, stain, or a simple sealant to protect the wood and give your workbench a polished look.
Installing the workbench against a wall can save space and add stability. If you go this route, make sure the wall is capable of supporting the bench and that you use the proper fixtures to secure it. A wall-mounted workbench can also incorporate a fold-down mechanism, making it a perfect option for garages where space is at a premium.
Each workbench design offers its own benefits and can be adapted depending on what you’re looking for. Whether you’re pulling ideas from Pinterest, following a specific plan for a mechanic’s bench, or throwing yourself into a full DIY build, your new workbench will undoubtedly elevate your garage workspace. By integrating these ideas and tips into your project, you’ll create not just a functional work area, but a cornerstone of your garage where every tool has its place, and every project begins with confidence and excitement.
Why Choose a Steel Workbench?
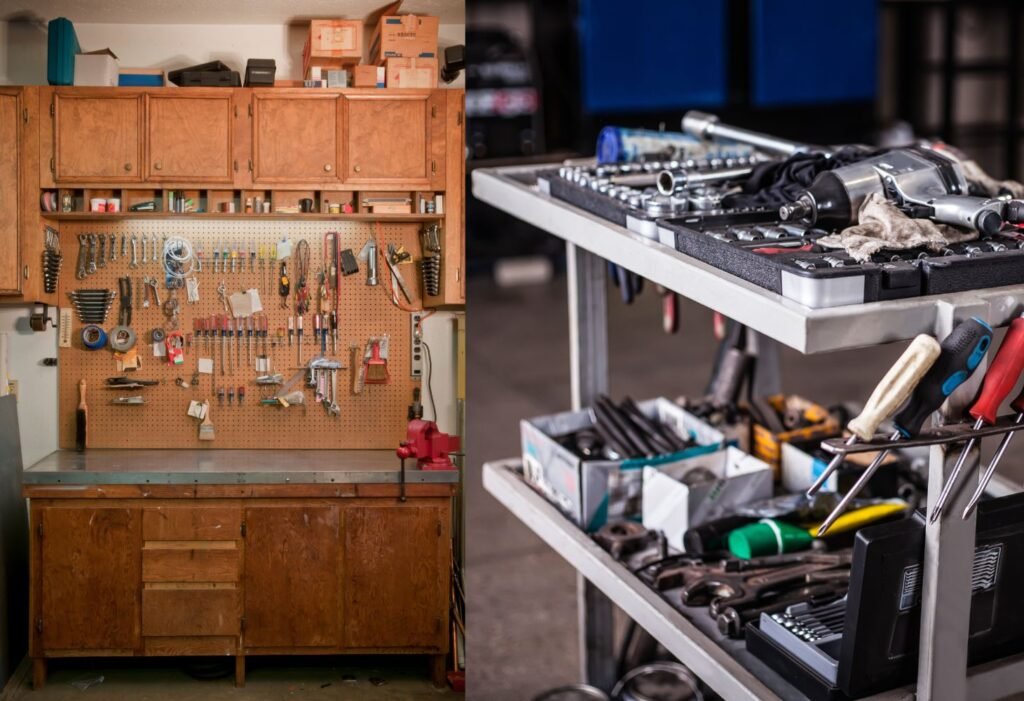
When it comes to durability and resilience, steel workbenches are in a class of their own. Unlike wood, steel can withstand harsh conditions without warping, cracking, or succumbing to pest damage. It’s the go-to material for those who need a sturdy, long-lasting work surface that can handle heavy tools, sharp objects, and oil spills without fuss.
Advantages of Steel Over Other Materials:
- Durability: Steel tops resist impacts and heavy use much better than softer materials like wood.
- Maintenance: Easy to clean and resistant to stains from oils and chemicals.
- Strength: Can support heavier loads, ideal for mounting vices and heavy machinery.
Examples of Robust Steel Workbench Designs:
- Industrial-Grade Flat Top: Perfect for heavy-duty work, featuring a thick steel top and robust frame.
- Modular Workbenches: These come with built-in drawers and overhead cabinets, offering excellent storage and organization.
- Mobile Workstations: Steel benches with heavy-duty casters allow you to move your workstation where you need it, which is especially useful in multi-use spaces.
Finding and Customizing Free Garage Workbench Plans

One of the great things about building your own garage workbench is the sheer amount of resources available. Numerous websites offer free plans that vary in complexity, size, and functionality. These plans typically include a materials list, detailed instructions, and sometimes even videos.
Resources for Free Workbench Plans:
- Websites like Instructables, Ana White, and Woodsmith Plans provide a variety of designs ranging from simple tables to complete workshop stations with integrated tool storage.
Customizing Plans to Fit Your Garage Space:
- Measure Your Space: Before choosing a plan, ensure it fits in your available space. Consider the workflow in your garage and leave enough room for movement.
- Adjust Dimensions: Modify dimensions in the plans to better fit your garage or specific needs.
- Add Custom Features: Incorporate features that will enhance your productivity, like power strips, lighting, or a pegboard for tools.
Building a Workbench Against a Wall
For many, space is a luxury. Building your workbench against a wall not only saves space but also adds stability to your setup. It’s an excellent option for smaller garages or multi-use areas.
Benefits of a Wall-Mounted Workbench:
- Space Efficiency: Maximizes floor space by utilizing vertical surfaces.
- Stability: Securing the workbench to the wall prevents wobbling and movement during heavy use.
- Accessibility: Keeps tools and materials neatly organized and easily accessible.
Instructions and Considerations for Installation:
- Locate Studs: Ensure the framing is attached to wall studs for maximum stability.
- Proper Height: Position the bench at a comfortable height, generally around 34-36 inches from the floor, depending on your height.
- Secure Firmly: Use heavy-duty screws or bolts to secure the bench, ensuring it can support the intended load without risk.
DIY Guide: Building Your Basic Garage Workbench
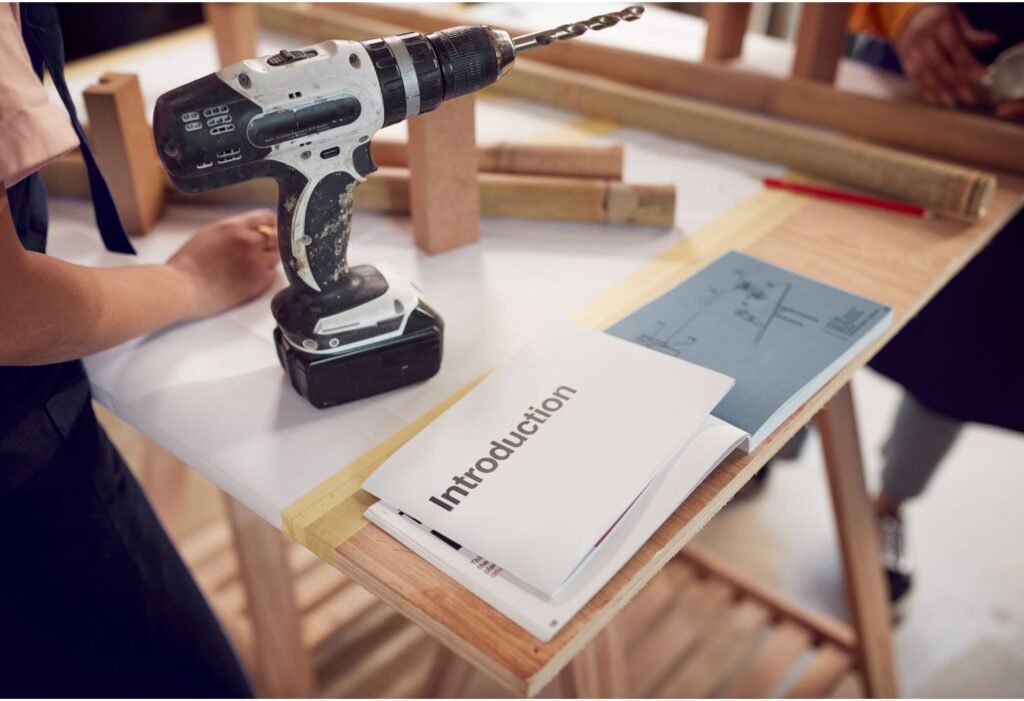
Ready to tackle building your own garage workbench? Here’s a straightforward guide to creating a simple yet effective workbench.
Materials Needed:
- 4x4s for legs
- 2x4s for the frame
- Plywood or MDF for the top
- Screws and bolts
- Sandpaper or a sander
- Finish (paint, stain, or sealant)
Step-by-Step Instructions:
- Cut Your Timber: Cut all wood to the required lengths according to your chosen plan.
- Assemble the Frame: Use 2x4s to create the frame. Assemble the outer frame and add supports at intervals for added stability.
- Attach the Legs: Secure the 4×4 legs to the corners of the frame. For additional support, use diagonal braces.
- Install the Top: Lay the plywood or MDF top onto the frame and secure it with screws.
- Finishing Touches: Sand any rough edges and apply your chosen finish to protect the wood and enhance its appearance.
Customization Tips:
- Adjustable Shelves: Add shelves beneath the bench for additional storage.
- Tool Organizers: Attach a pegboard or magnetic tool holder to keep essential tools within reach.
- Mobility Options: Consider adding casters to make your workbench mobile, which can be locked in place when in use.
Creating the perfect workbench for your garage is a rewarding project that not only enhances your workspace but also boosts your efficiency and enjoyment while working on your projects. Whether you opt for the rugged durability of steel, the customization potential of DIY designs, or the space-saving benefits of a wall-mounted workbench, there’s a solution out there to suit every need and space. Happy building!
Is it cheaper to build a workbench or buy one?
Building a workbench can often be cheaper than buying one, especially if you already have some basic tools and materials.
What is the best height for a garage workbench?
The ideal height for a garage workbench is typically around 36 inches, but this may vary depending on your height and ergonomic needs.
What is the best surface for a garage workbench?
Hardwoods like maple are popular for their durability and resistance to wear, making them excellent for heavy-duty use.
What kind of wood do you use for a garage workbench?
For a balance of cost and durability, plywood is a great choice, while hardwoods like maple or birch offer superior strength and longevity.


